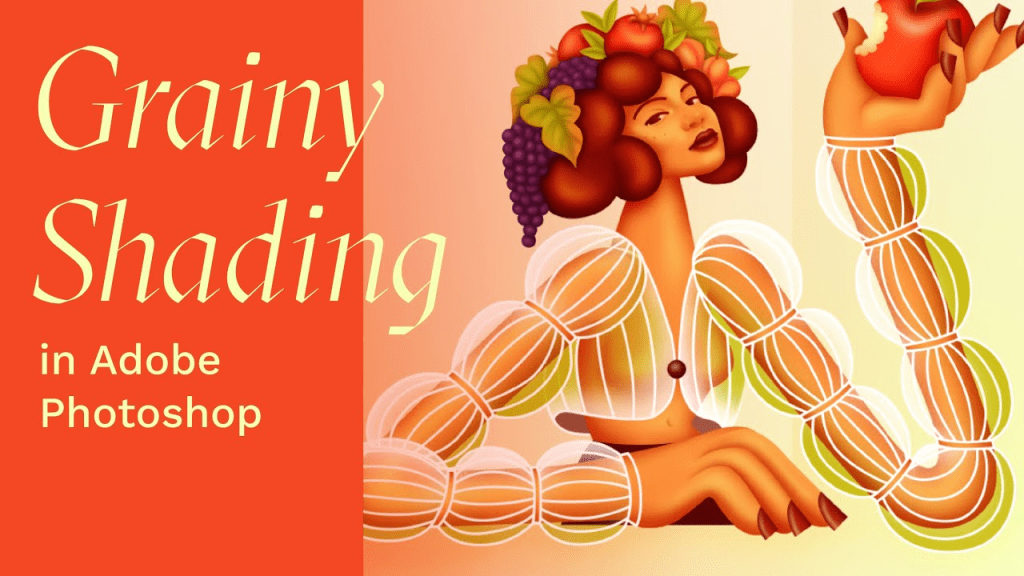
Grainy shading in Photoshop can transform your artwork, adding an appealing depth and tactile quality that captivates the viewer’s eye. By harnessing innovative Photoshop art techniques, you can create stunning illustrations that break the flatness of traditional digital art. Whether you’re experimenting with texture in Photoshop or striving to enhance your digital illustrations, mastering grainy shading is a game-changer. In this tutorial, you will discover essential digital illustration tips and learn how to utilize grain shader brushes effectively. Join me as we delve into a world of Photoshop shading, revealing the secrets to bringing your creations to life.
Exploring the world of textured shading in graphic editing software like Photoshop opens up new avenues for artistic expression. This approach not only enhances visual depth but also infuses personality into your digital creations, turning simple drawings into dynamic masterpieces. Engaging with innovative shading methods, particularly those that emphasize grainy and noise effects, can offer a unique flair to your work. In this guide, we’ll dive into practical techniques for achieving beautifully shaded illustrations, spotlighting the unique benefits of employing specialized brushes for texture application. Let’s uncover how these effective methods can elevate your art and stimulate your creativity.
Introduction to Grainy Shading Techniques
Adding grainy shading to your art can transform flat illustrations into captivating pieces that exhibit depth and texture. This Photoshop tutorial will walk you through the process of creating a delicious donut illustration, while also highlighting the importance of effective shading. By using grainy shading, you can achieve an art style that feels more alive and engaging, drawing viewers in with its intricate details.
The technique we’ll be exploring is not only simple but also rewarding; it can significantly enhance your artwork. With the right brushes, you’ll learn how to seamlessly integrate highlights and shadows, resulting in a richly layered effect. Fundamental to this process is understanding how light interacts with surfaces, as well as using texture to simulate the feeling of a three-dimensional object.
Creating the Donut Illustration
We’ll begin our journey by sketching out the basic shape of our donut. Once you’re satisfied with the outline, it’s time to bring it to life with color and texture. This initial phase will lay the groundwork for applying our grainy shading effects later in the tutorial. Focus on blocking in the main colors of your donut, choosing vibrant shades that make it tempting and delicious.
As you progress through the illustration, pay attention to light sources and how they affect your chosen colors. By establishing a light source, you can strategically apply highlights and shadows, enhancing the donut’s roundness. This will not only make your artwork stand out but will also establish a more realistic sense of depth, which is essential when working with grainy shading.
Applying Grain Shader Brushes
One of the simplest and most effective ways to add grainy shading is by utilizing Grain Shader brushes. These specially designed brushes are perfect for achieving the desired texture while keeping the shading process manageable. In this section, I will introduce you to my favorite Grain Shader brushes and demonstrate how to integrate them into your workflow confidently.
Using these brushes, experiment with different opacity levels and brush sizes to achieve the perfect grain effect. Start with a larger size for broader shadow areas, and switch to a finer brush for intricate details and highlights. This versatility will allow you to create visually appealing contrast, ensuring your donut illustration pops with life and character.
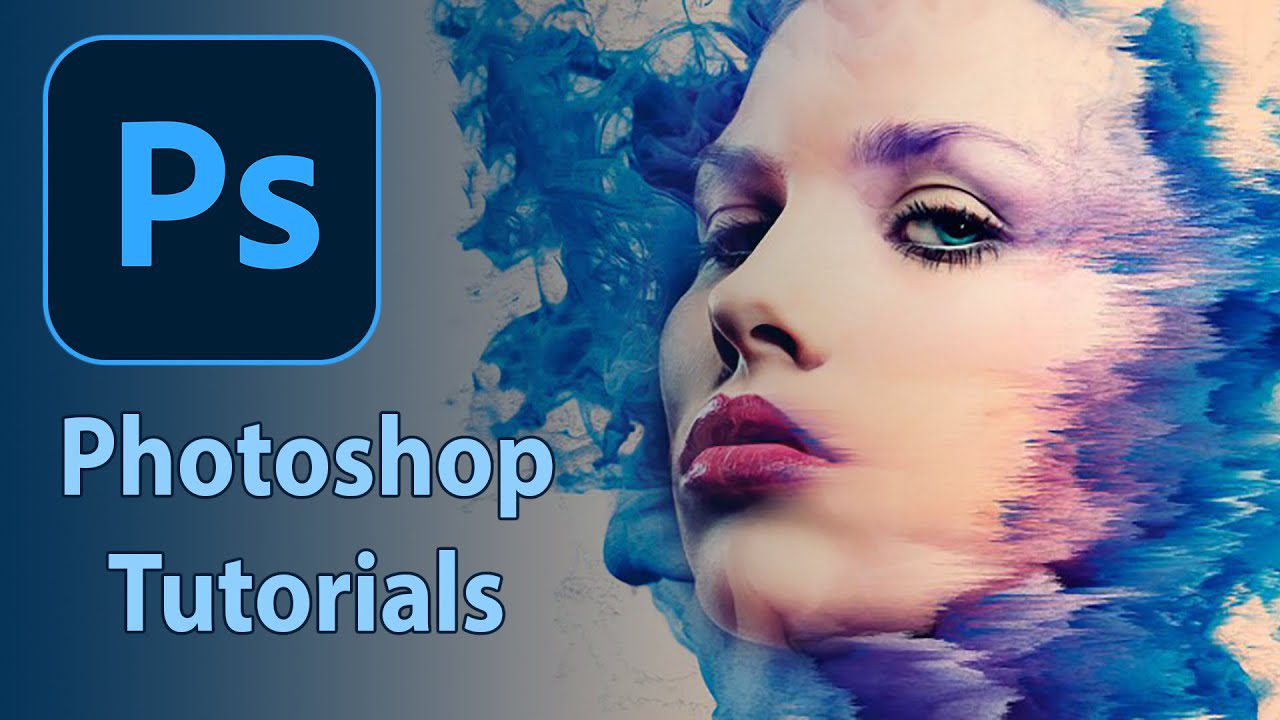
Highlights and Shadows Explained
Understanding how to effectively apply highlights and shadows is critical to mastering grainy shading. Highlights are typically applied on the areas where light hits directly, such as the top of the donut, while shadows fell on opposite sides, creating a sense of volume. Learning where to place these elements can dramatically change the perception of your artwork.
During this process, it can be helpful to step back and periodically review your artwork from different angles. This will help you assess if the highlights and shadows are working harmoniously. Remember that the goal is to achieve a dynamic contrast that brings out the texture and depth of your donut, making it more appealing and realistic.
Tips for Achieving Realistic Texture
Aside from using Grain Shader brushes, consider employing additional techniques to enhance the realism of your shading. Layering techniques can be particularly effective; try building up your shadows and highlights gradually. This method allows for more subtleties and nuance in your artwork, preventing a flat appearance.
Additionally, integrating non-textured brushes can help to blend edges where shadows meet highlights. This can create a smooth transition while maintaining that lively grainy appearance. Remember that less can often be more, so be cautious about overdoing it, as too many layers might obscure the beautiful texture you’ve worked to create.
Concluding the Tutorial
With your delicious donut illustration complete, take a moment to reflect on the process you’ve undergone. You have not only learned how to apply grainy shading effectively but also how it can elevate your artwork. This technique can be applied to various subjects, enabling you to experiment with different textures and styles moving forward.
I encourage you to continue practicing with the Grain Shader brushes and exploring their versatility. Whether it’s for future dessert-inspired art or captivating landscapes, these techniques will serve you well as you develop your unique artistic style. Happy illustrating!

